

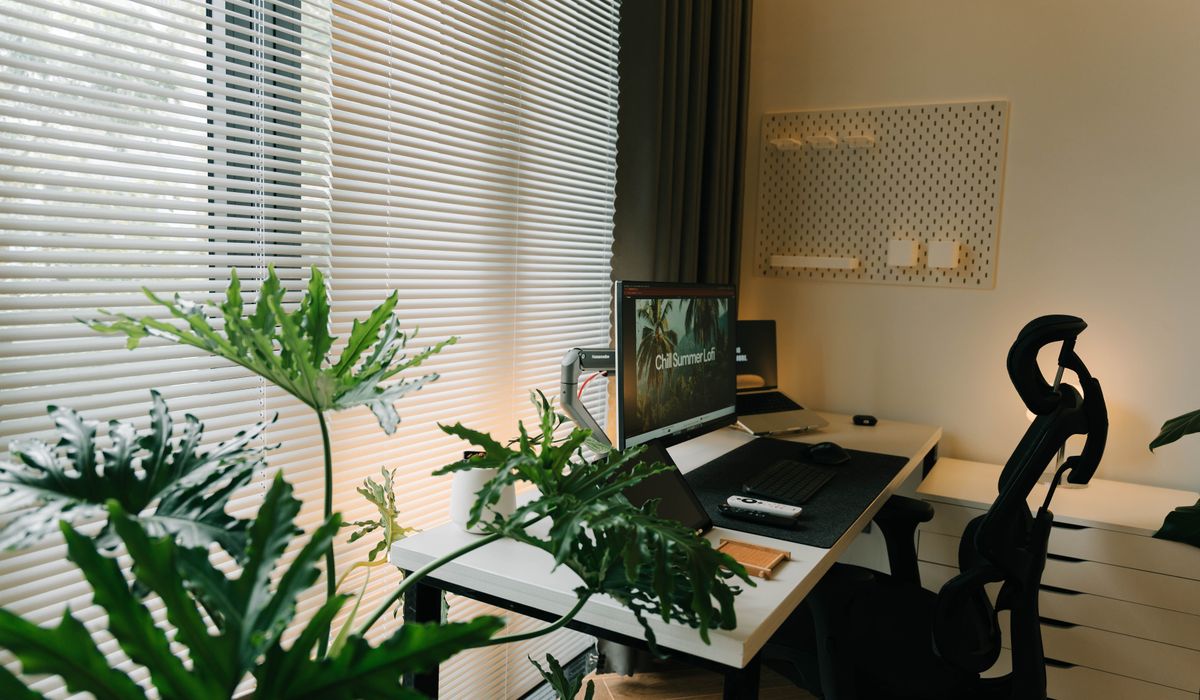
Updating a Kitchen on a Sensible Budget
Why a Full Renovation Isn't Always the Answer
A new kitchen is one of the most expensive rooms in the house to rip out and start again, and for many homes it simply isn't necessary. If your units are solid, the doors still line up and the layout works for the way you cook, then the problem is probably cosmetic rather than structural. Worn handles, dated colours and tired splashbacks make a kitchen feel older than it is, and those are exactly the things you can change in a weekend or two. A sensible refresh usually costs somewhere between £300 and £900, depending on how much you do yourself, and it can buy your kitchen another five to ten years of comfortable life before the big job becomes unavoidable.
Before spending anything, spend an hour assessing. Open every cupboard and check the hinges and drawer runners, look for water damage around the sink, and press a fingernail into a door to see whether it's solid timber, MDF or a foil-wrapped chipboard. Solid and painted surfaces take paint beautifully; foil can be trickier and may need a specialist primer. Once you know what you're working with, the upgrades below fall into a natural order.
New Handles: The Cheapest Big Change
Hardware is where you get the most visual impact for the least money. A full set of twenty handles might cost £40 to £150, and swapping them takes an afternoon with a screwdriver. The one thing you must do first is measure the centre-to-centre distance — the gap between the two screw holes — on your existing handles. Common sizes are 96mm, 128mm and 160mm. If you buy handles with a different spacing, you'll be drilling new holes and filling old ones, which turns a quick job into a fiddly one.
On style, think about what the room needs:
- Brushed brass or antique brass adds warmth and suits dark green, navy and cream cabinets.
- Matte black is crisp and modern, and works particularly well against white or pale grey gloss.
- Brushed nickel or stainless steel is the safest choice if your appliances are silver and you want everything to feel cohesive.
- Cup pulls and bar handles suit shaker doors, while slim edge pulls look cleaner on flat, handleless-style fronts.
Keep the old screws in a small bag and label it. It sounds fussy, but you'll thank yourself if you ever need to put things back.
Painting Cabinets Properly
Painting is the single biggest transformation available on a modest budget, and most of the failures people complain about come down to preparation, not paint. Work through it in this order:
- Remove doors and drawer fronts, and label each one with masking tape so you know exactly where it belongs.
- Degrease everything with sugar soap or a dedicated kitchen degreaser. Kitchens carry a fine film of cooking oil that repels paint.
- Lightly sand with 120-grit, then 180-grit, to give the surface a key. Wipe off the dust with a tack cloth.
- Apply a stain-blocking primer, especially over dark or strongly coloured doors. One or two thin coats, rolled on with a foam roller and laid off with a brush in the corners.
- Topcoat with a water-based eggshell or cabinet paint in two thin coats, sanding lightly between them. Thin coats dry faster and level better than thick ones.
Dry the doors flat on blocks rather than standing them up, and leave them a full 48 hours before refitting to avoid chipping the edges. Colours that age well include soft off-whites, sage, deep blue and warm greys. Keep the walls a shade lighter so the room doesn't close in.
Splashbacks and Upstands
A splashback changes the whole character of the wall behind your hob and sink, and it's far less disruptive than retiling the entire room. Options to consider:
- Peel-and-stick tiles or vinyl panels are the quickest fix, cheap and removable, though best kept away from direct heat.
- A single sheet of glass or acrylic cut to size gives a clean, contemporary look and is very easy to wipe down.
- Ceramic or porcelain tiles cost more in time than money, but they last decades.
- A timber or composite upstand running along the worktop gives a warmer, more traditional finish.
Whatever you choose, run it the full width of the worktop rather than stopping short, and finish the edges neatly. Add a matching upstand where the worktop meets the wall and the whole run suddenly looks intentional.
Small Details That Finish the Room
Once the big three are done, a few small touches make the difference between "redecorated" and "redesigned". Swap an old tap for a new one in brushed brass or matte black — it's a two-hour job for anyone comfortable with a spanner and a stopcock. Fit LED strip lighting under the wall cabinets on a warm white (around 3000K), which lights the worktop without casting shadows. Replace tired bin lids, add a couple of open shelves for everyday crockery, and decant dry goods into matching jars so the shelves read as a display rather than storage.
Finally, treat yourself to a deep clean of the grout with a grout pen or a paste of bicarbonate of soda. Budget roughly two-thirds of your money on paint and materials, and keep the last third for the extras that make it feel finished. Done carefully, this kind of refresh doesn't look like a compromise — it looks like a kitchen you chose.


Interiors
-
A place for everything, regular donation runs, and hidden storage baskets can keep clutter under control without making your home feel sparse or unwelcoming.
Small Spaces



-

Long established fact that a reader will be distracted
-

Long established fact that a reader will be distracted
-

Long established fact that a reader will be distracted




Styling
Karla Gleichauf
12 May 2017 at 05:28 pm
On the other hand, we denounce with righteous indignation and dislike men who are so beguiled and demoralized by the charms of pleasure of the moment
M Shyamalan
12 May 2017 at 05:28 pm
On the other hand, we denounce with righteous indignation and dislike men who are so beguiled and demoralized by the charms of pleasure of the moment
Liz Montano
12 May 2017 at 05:28 pm
On the other hand, we denounce with righteous indignation and dislike men who are so beguiled and demoralized by the charms of pleasure of the moment