

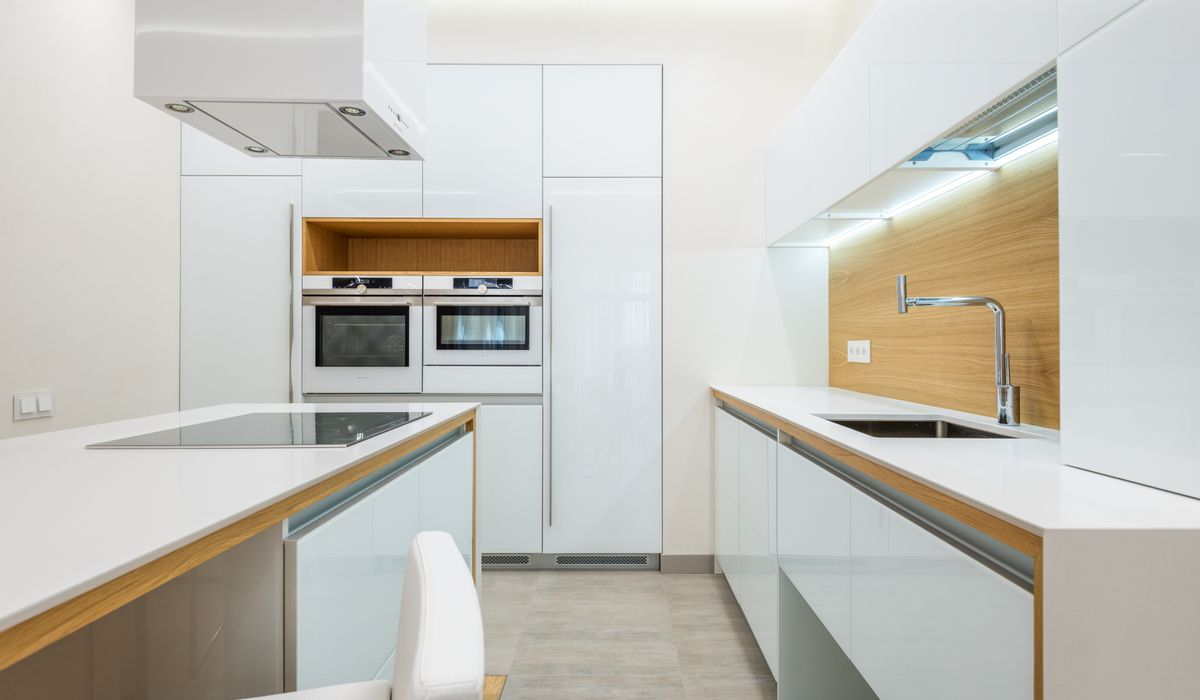
DIY Tips for Painting Kitchen Cabinets Smoothly
Preparation Decides the Finish
Kitchen cabinets live a hard life. They absorb steam from the hob, splashes from the sink and a fine film of cooking grease that settles on every surface whether you notice it or not. That's why a paint job that looks flawless on a spare bedroom door can turn patchy and peeling in a kitchen within a few months. The secret to a factory-smooth result isn't an expensive brush or a particular brand — it's the preparation you do before the tin is even opened.
Set aside the best part of a week for the whole project, but don't panic: most of that time is drying, not working. You'll spend perhaps two days actually painting. Everything else is cleaning, sanding, labelling and waiting patiently while coats harden. Rushing any of those stages is what gives DIY cabinet painting its unfair reputation.
Clear the Kitchen and Set Up a Workable Space
Empty one cabinet at a time and box the contents, keeping each box near the unit it came from so reassembly isn't a puzzle. Cover worktops, the hob and the splashback with dust sheets, and tape over any surfaces you can't move. A spare room or garage makes the ideal drying area, but if you're working in the kitchen itself, keep things tidy as you go.
- Lay doors flat on timber battens or upturned plastic cups so the painted edges don't stick to the surface beneath.
- Keep the room between 15°C and 25°C — cold or damp air stops water-based paint curing properly.
- Switch off extractor fans and avoid cooking in the kitchen while you're painting, as airborne grease will ruin a wet coat.
- Open a window for ventilation, but keep the room free of draughts that carry dust onto fresh paint.
Remove the Doors and Label Every Piece
Take the doors off their hinges and pull out the drawers — trying to paint in place always ends in visible brush marks around the frames and paint smeared on the carcass. Before you unscrew anything, photograph the hinge positions on your phone. Cabinet doors are surprisingly easy to rehang upside down or on the wrong unit.
Then work out a simple numbering system. Write a number on a strip of masking tape stuck to the inside face of each door, and put the matching number somewhere discreet on the carcass it came from. Do the same for each drawer front. As you strip hardware, drop every hinge, screw, handle, bumper and shelf peg into its own labelled sandwich bag or small tub. Keep the screws with the hinge they came from — thread sizes vary, and nothing causes more frustration than a pile of unlabelled fixings at the end of the job.
Clean, Sand and Prime Properly
Now the surface work begins. Wash every door, drawer front and frame with a degreasing cleaner such as sugar soap, working into the corners and around the handles where hands have left a sheen of oil. Rinse with clean water and let everything dry completely.
Next, key the surface by sanding lightly with 120-grit paper. You're not trying to strip the old finish, only to dull the shine so the primer has something to grip. Wipe away the dust with a tack cloth. If your cabinets are melamine, laminate or a factory-applied lacquer, use a dedicated bonding primer — ordinary primer will simply sit on top and flake away later. One thin, even coat is all you need, and it will feel dishearteningly translucent. That's fine. It's doing its job.
Pick the Right Paint and Apply It Thinly
For most kitchen cabinets, a water-based satin or eggshell formulated for woodwork and trim gives a hardwearing, wipeable finish that stays slightly softer than a gloss. A foam roller is your best friend here: it leaves almost no texture, unlike a traditional nap roller. Use a small brush for the recessed panels and internal corners, then roll the flat faces with a 4-inch foam mini roller.
- Load the roller lightly and roll in one direction, overlapping each pass by about half.
- Lay off with a final, feather-light stroke in a single direction to flatten any stipple.
- Apply two or three thin coats rather than one thick one, sanding gently between coats with 320-grit.
- Let each coat dry for the full time stated on the tin, plus a little extra if the weather is humid.
Reassemble Slowly and Let It Cure
Water-based paint feels dry to the touch within an hour, but it takes several days to reach full hardness. Handle doors with clean hands or gloves, and refit the hardware only once the paint is genuinely firm — pressing hinges into soft paint leaves permanent dents. Hang the doors, adjust the hinges a quarter-turn at a time until the gaps look even, then step back and admire the result.
For the first month, clean the cabinets with nothing more than a soft, damp cloth. Avoid abrasive sprays and scrubbing pads, and don't stack heavy crockery against the painted edges while the finish hardens. Treat them gently now and they'll reward you with a kitchen that looks properly renewed rather than merely repainted.


Interiors
-
A rug should anchor the seating area, so measure carefully and leave enough floor visible around the edges to keep the room feeling balanced.

Small Spaces



-

Long established fact that a reader will be distracted
-

Long established fact that a reader will be distracted
-

Long established fact that a reader will be distracted




Styling
Karla Gleichauf
12 May 2017 at 05:28 pm
On the other hand, we denounce with righteous indignation and dislike men who are so beguiled and demoralized by the charms of pleasure of the moment
M Shyamalan
12 May 2017 at 05:28 pm
On the other hand, we denounce with righteous indignation and dislike men who are so beguiled and demoralized by the charms of pleasure of the moment
Liz Montano
12 May 2017 at 05:28 pm
On the other hand, we denounce with righteous indignation and dislike men who are so beguiled and demoralized by the charms of pleasure of the moment